spring boot入门(二)-Mybatis-Plus CRUD | 字数总计: 1.6k | 阅读时长: 8分钟 | 阅读量: |
本文是spring boot的新手入门教程,目标是使用Mybatis Plus 实现简单的Mysql单表增删改查,不考虑事务等。
参考资料:
前置条件
安装Mysql服务端,或已有Mysql服务端
Mysql已经有初始化库 test 表 User
数据库初始化表和数据 数据库 test 中,已经初始化有一张 User 表,其表结构如下:
其对应的数据库 Schema 脚本如下:
1
2
3
4
5
6
7
8
CREATE TABLE user ( id BIGINT (20 ) NOT NULL COMMENT '主键ID' , name VARCHAR (30 ) NULL DEFAULT NULL COMMENT '姓名' , age INT (11 ) NULL DEFAULT NULL COMMENT '年龄' , email VARCHAR (50 ) NULL DEFAULT NULL COMMENT '邮箱' , PRIMARY KEY (id) );
其对应的数据库 Data 脚本如下:
1
2
3
4
5
6
INSERT INTO user (id, name, age, email) VALUES (1 , 'Jone' , 18 , 'test1@baomidou.com' ), (2 , 'Jack' , 20 , 'test2@baomidou.com' ), (3 , 'Tom' , 28 , 'test3@baomidou.com' ), (4 , 'Sandy' , 21 , 'test4@baomidou.com' ), (5 , 'Billie' , 24 , 'test5@baomidou.com' );
添加依赖 引入 mybatis-plus-boot-starter、mysql-connector-java、junit依赖:
1 2 3 4 5 6 7 8 9 10 11 12 13 14 15 16 17 18 <dependencies > <dependency > <groupId > junit</groupId > <artifactId > junit</artifactId > <scope > test</scope > </dependency > <dependency > <groupId > com.baomidou</groupId > <artifactId > mybatis-plus-boot-starter</artifactId > <version > 3.4.1</version > </dependency > <dependency > <groupId > mysql</groupId > <artifactId > mysql-connector-java</artifactId > <version > 5.1.49</version > <scope > runtime</scope > </dependency > </dependencies >
配置 为了方便,我们将 application.properties 重命名为 application.yml,yaml格式的配置更易读写,也属于Spring Boot识别的属性文件application.yml 配置文件中添加 Mysql 数据库的相关配置:
1 2 3 4 5 6 7 spring: datasource: driver-class-name: com.mysql.jdbc.Driver url: jdbc:mysql://localhost:3306/test?useUnicode=true&characterEncoding=gbk&autoReconnect=true&failOverReadOnly=false username: root password: 123456
在 Spring Boot 启动类中添加 @MapperScan 注解,扫描 Mapper 文件夹:
1
2
3
4
5
6
7
8
9
@SpringBootApplication @MapperScan("com.example.demo.mapper") public class DemoApplication { public static void main (String[] args) { SpringApplication.run(DemoApplication.class, args); } }
编码 在包 com.example.demo.model 下新增实体类 User.java
1
2
3
4
5
6
7
8
9
10
11
12
13
14
15
16
17
18
19
20
21
22
23
24
25
26
27
28
29
30
31
32
33
34
35
36
37
38
39
40
41
package com.example.demo.model;public class User { private Long id; private String name; private Integer age; private String email; public Long getId () { return id; } public void setId (Long id) { this .id = id; } public String getName () { return name; } public void setName (String name) { this .name = name; } public Integer getAge () { return age; } public void setAge (Integer age) { this .age = age; } public String getEmail () { return email; } public void setEmail (String email) { this .email = email; } }
在包 com.example.demo.mapper 下新增Mapper类 UserMapper.java
1
2
3
4
5
6
7
8
package com.example.demo.mapper;import com.baomidou.mybatisplus.core.mapper.BaseMapper;import com.example.demo.model.User;public interface UserMapper extends BaseMapper <User> {}
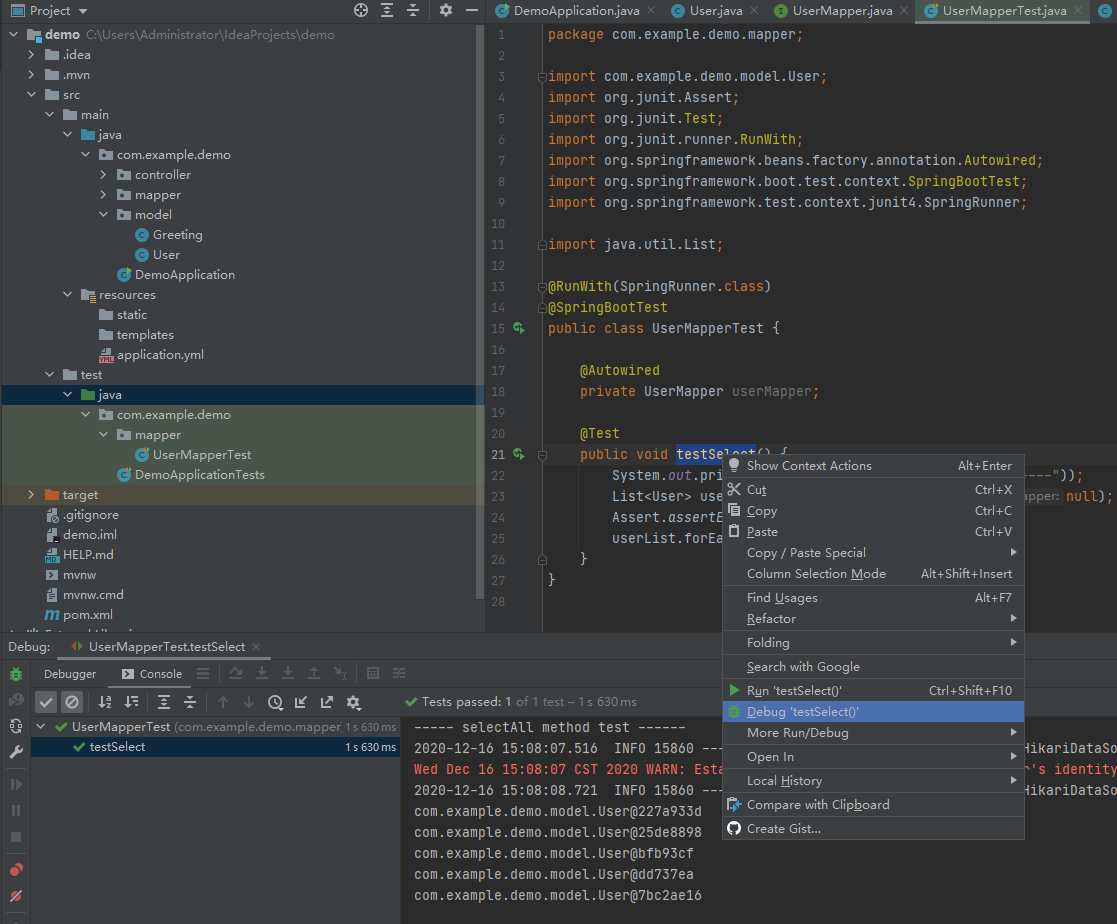
开始使用 在项目的 src/test/java 测试目录,新增测试类 UserMapperTest , 放在包 com.example.demo.mapper 下,尽量和源码对应,进行功能测试:
1
2
3
4
5
6
7
8
9
10
11
12
13
14
15
16
17
18
19
20
21
22
23
24
25
26
27
package com.example.demo.mapper;import com.example.demo.model.User;import org.junit.Assert;import org.junit.Test;import org.junit.runner.RunWith;import org.springframework.beans.factory.annotation.Autowired;import org.springframework.boot.test.context.SpringBootTest;import org.springframework.test.context.junit4.SpringRunner;import java.util.List;@RunWith(SpringRunner.class) @SpringBootTest(webEnvironment = SpringBootTest.WebEnvironment.RANDOM_PORT) public class UserMapperTest { @Autowired private UserMapper userMapper; @Test public void testSelect () { System.out.println(("----- selectAll method test ------" )); List<User> userList = userMapper.selectList(null ); Assert.assertEquals(5 , userList.size()); userList.forEach(System.out::println); } }
在方法 testSelect 上右键,进行单元测试代码调试:selectList() 方法的参数为 MP 内置的条件封装器 Wrapper,所以不填写就是无任何条件Mybatis-Plus快速开始中的lombok的@Data注解 ,就做了重载):
1
2
3
4
5
com.example.demo.model.User@227a933d com.example.demo.model.User@25de8898 com.example.demo.model.User@bfb93cf com.example.demo.model.User@dd737ea com.example.demo.model.User@7bc2ae16
实现简单增删改查RESTFUL接口 新增Controller类 UserController ,用于对外提供增删改查接口,当然实际一般不会用mapper类进行dao操作,还会封装一层Service,Dao,事务管理等
1
2
3
4
5
6
7
8
9
10
11
12
13
14
15
16
17
18
19
20
21
22
23
24
25
26
27
28
29
30
31
32
33
34
35
36
37
38
39
40
41
42
43
44
45
46
package com.example.demo.controller;import com.baomidou.mybatisplus.core.conditions.query.LambdaQueryWrapper;import com.example.demo.mapper.UserMapper;import com.example.demo.model.User;import org.springframework.beans.factory.annotation.Autowired;import org.springframework.web.bind.annotation.*;import java.util.List;@RestController @RequestMapping("/user") public class UserController { @Autowired private UserMapper userMapper; @RequestMapping(method = RequestMethod.POST) public User create (@RequestBody User user) { userMapper.insert(user); return userMapper.selectById(user.getId()); } @RequestMapping(value = "/{id}", method = RequestMethod.DELETE) public Integer delete (@PathVariable("id") Long id) { return userMapper.deleteById(id); } @RequestMapping(value = "/{id}", method = RequestMethod.PATCH) public Integer update (@PathVariable("id") Long id,@RequestBody User user) { user.setId(id); return userMapper.updateById(user); } @RequestMapping(value = "/{id}", method = RequestMethod.GET) public User update (@PathVariable("id") Long id) { LambdaQueryWrapper<User> queryWrapper = new LambdaQueryWrapper <>(); queryWrapper.eq(User::getId,id); return userMapper.selectOne(queryWrapper); } @RequestMapping(value = "/actions/list-all", method = RequestMethod.GET) public List<User> update () { return userMapper.selectList(null ); } }
使用MockMvc测试新写的接口 在测试目录下,新增 UserController 对应的测试类 UserControllerTest,该单元测试用例,创建了一个用户,然后为了数据干净,直接调用mapper,将创建的数据,进行了删除:
1
2
3
4
5
6
7
8
9
10
11
12
13
14
15
16
17
18
19
20
21
22
23
24
25
26
27
28
29
30
31
32
33
34
35
36
37
38
39
40
41
42
43
44
45
46
package com.example.demo.controller;import com.example.demo.mapper.UserMapper;import com.example.demo.model.User;import com.fasterxml.jackson.databind.ObjectMapper;import org.junit.Test;import org.junit.runner.RunWith;import org.springframework.beans.factory.annotation.Autowired;import org.springframework.boot.test.autoconfigure.web.servlet.AutoConfigureMockMvc;import org.springframework.boot.test.context.SpringBootTest;import org.springframework.http.MediaType;import org.springframework.test.context.junit4.SpringRunner;import org.springframework.test.web.servlet.MockMvc;import static org.springframework.test.web.servlet.request.MockMvcRequestBuilders.post;import static org.springframework.test.web.servlet.result.MockMvcResultMatchers.status;@RunWith(SpringRunner.class) @SpringBootTest(webEnvironment = SpringBootTest.WebEnvironment.RANDOM_PORT) @AutoConfigureMockMvc public class UserControllerTest { @Autowired MockMvc mockMvc; @Autowired private UserMapper userMapper; @Test public void create () throws Exception { String result = mockMvc.perform( post("/user" ) .contentType(MediaType.APPLICATION_JSON) .content("{\"name\":\"mockmvc-test\",\"age\":20,\"email\":\"mockmvc-test@test.com\"}" )) .andExpect( status().isOk() ) .andReturn().getResponse().getContentAsString(); System.out.println("新增User请求,返回:" +result); ObjectMapper mapper = new ObjectMapper (); User user = mapper.readValue(result,User.class); userMapper.deleteById(user.getId().toString()); } }
 微信
微信 支付宝
支付宝